This is the clock that I wood-burned. What I did was I took a coloring sheet that I had and copied it onto a normal piece of paper with my printer, then to transfer it onto the wood (I used a non-finished wooden plate) I colored on the back of the paper with a pencil. I lined the picture where I wanted it then traced over the design with a pencil, putting a lot of pressure on the paper. The pencil on the back works like graphite paper (which would have worked better, but I didn't have any.) and the design is transferred onto the wood. I basically then just wood-burned around the design so that it was a white on black instead of black on white like I've done in the past. I only have four tips, and I used all of them, because I wasn't quite sure what all of them did. Turns out, for this project I just needed two of them, so the places where I messed up are where I used the other two. Oh well.

This tip isn't one that I should have used, I'm not good enough to use it, or it doesn't work. When it is hot it cuts into the wood and makes weird depth changes.
This is basically my wood burner, maybe a little nicer. The tips are exact. The two on the left are the ones that are the easiest to use, and the ones that I should have used.
My clock won first place and a special award, because of the special award I won an extra twenty-five dollars. I was pretty excited.
To get the pattern on this bag I used Aunt Martha's Hot Iron Transfer Pencil. All you have to do is trace over the pattern with the pencil, line up the pattern and hold the iron on it. For this bag I used a lot of different stitches, to make it more interesting you could use different kinds of string, but I just used embroidery floss. There are tutorials for all the different kinds of stitches on Mary Corbett's website,
http://www.needlenthread.com/videos A few of the videos don't work, but most of them do.
This bag got first place, but I think only two people entered.
This was my creative challenge. I was given a list of items I needed to use. It was: One square of green fabric, or paper, at least one pipe cleaner, at least five buttons, one crayon, 15" of yarn, and two rubber bands. How do you think I did? I don't particularly like it, but it got second place. To be honest it looks better in real life, if you don't look too closely. :)
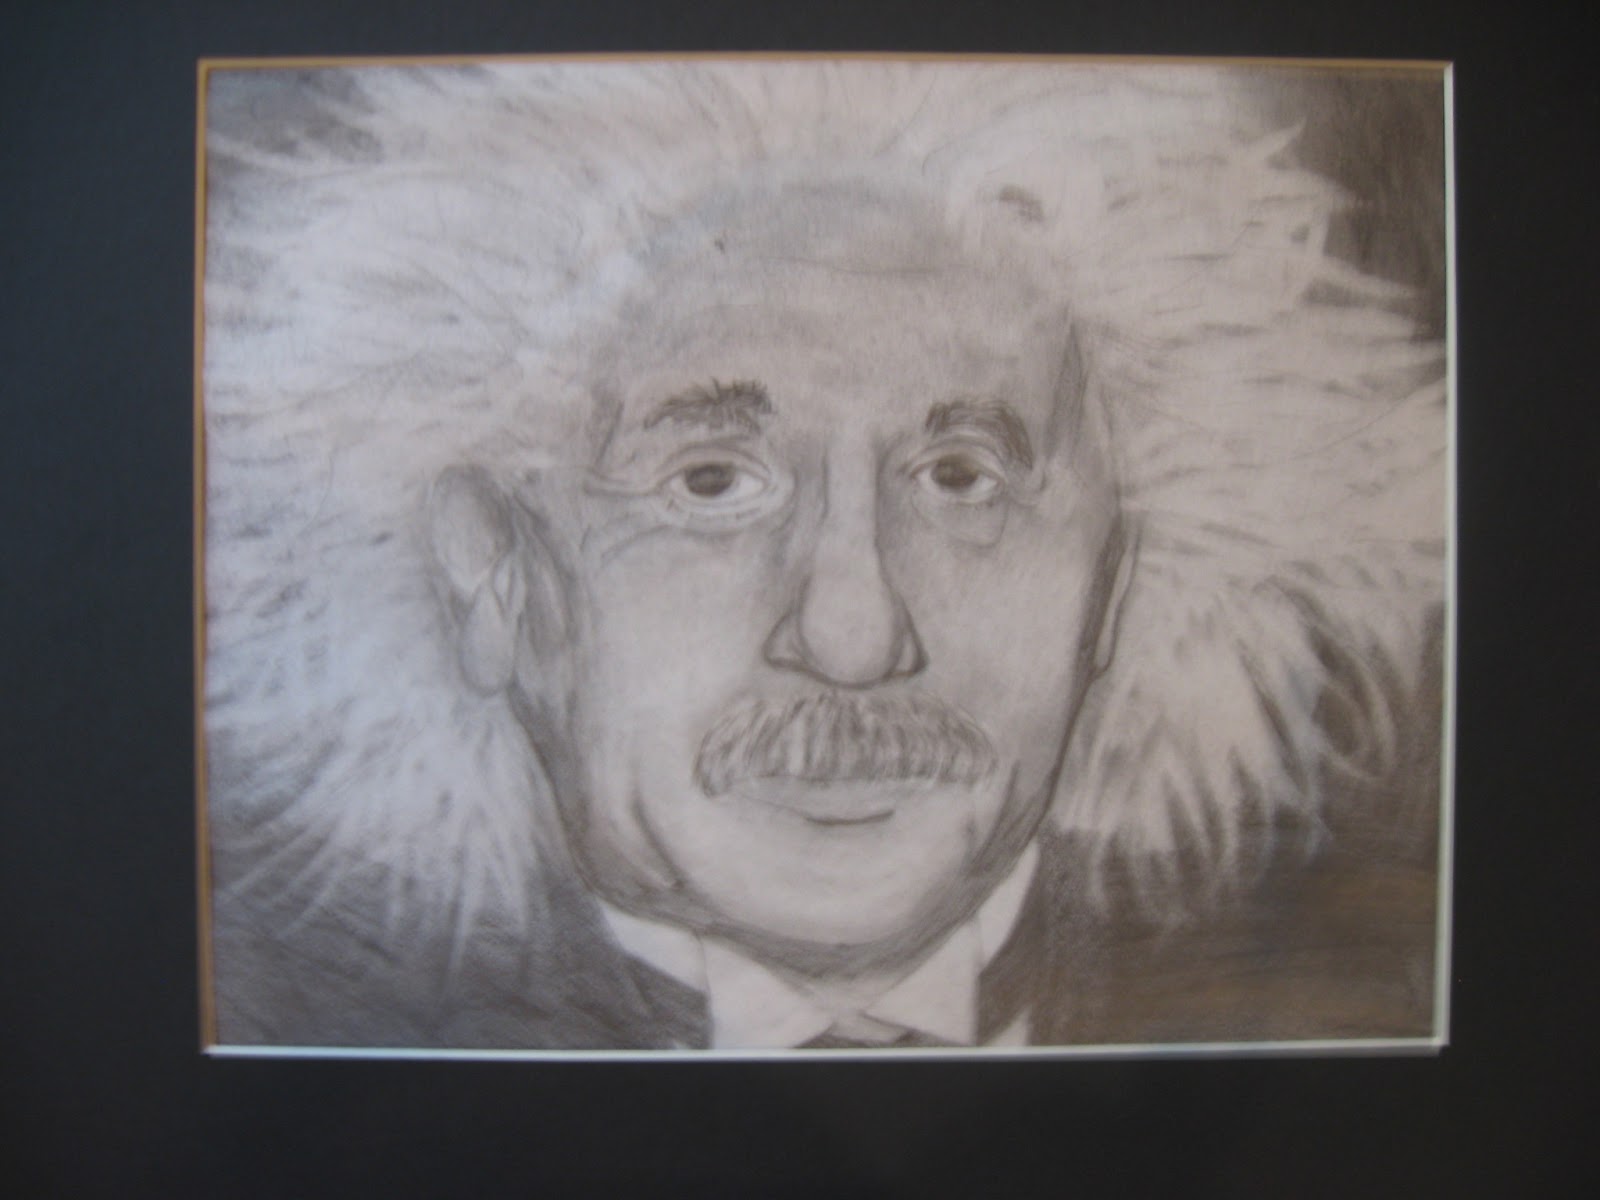
This is Albert Einstein. I drew him a few months ago at Audrey Bottrell's art class, at Hobby Lobby. It took me awhile, but it won second place.
Well, I also entered some muffins, Apple Cinnamon Walnut, that won second place, but other than that I've shown you guys everything I entered. Grandma I finally got around to it.